


Table of contents

No headings in the article.
Dropdowns are a very common feature in web applications. Because they help to conserve screen space and they also add beauty to your application.
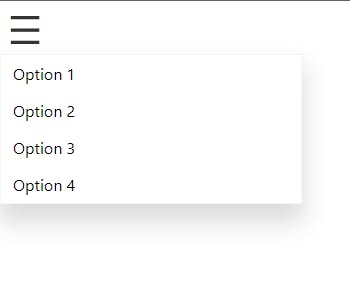
In this article, we will learn how to build a dropdown with react. Here is a sample of what we will be building in this article.
Let’s get started. First, we create a menu component
import React from "react";

export default function DropdownMenu() {
  return (
    <div className="container">
      <button type="button" class="button">
        ☰
      </button>
      <div class="dropdown">
        <ul>
          <li>Option 1</li>
          <li>Option 2</li>
          <li>Option 3</li>
          <li>Option 4</li>
        </ul>
      </div>
    </div>
  );
}
Then we style the menu component.
.container {
  position: relative;
  display: block;
}
.button {
  width: 3rem;
  border: 0;
  background-color: #fff;
  cursor: pointer;
  outline: 0;
  font-size: 25px;
}

.dropdown {
  position: absolute;
  top: 100%;
  left: 0;
  width: 300px;
  z-index: 2;
  border: 1px solid rgba(0, 0, 0, 0.04);
  box-shadow: 0 16px 24px 2px rgba(0, 0, 0, 0.14);
}

ul {
  list-style: none;
  padding: 0;
  margin: 0;
}
li {
  padding: .5rem;
}

li:hover {
  background-color: rgba(0, 0, 0, 0.14);
  cursor: pointer;
}
Now we have a menu component that has a menu button and the dropdown menu that is not hidden yet. Next we create a useState to hold the state of visibility of the dropdown menu.
import React from "react";

export default function DropdownMenu() {
  const [isComponentVisible, setIsComponentVisible] = useState(false);

const handleButtonClick = () => {
    setIsComponentVisible((prevState) => !prevState);
  };

  return (
    <div>
      <div className="container">
        <button type="button" class="button">
          ☰
        </button>
        <div class="dropdown">
          <ul>
            <li>Option 1</li>
            <li>Option 2</li>
            <li>Option 3</li>
            <li>Option 4</li>
          </ul>
        </div>
      </div>
    </div>
  );
}
We have defined a state to check if the dropdown button is visible or not. And we set it to be false by default because we want the dropdown menu to be hidden by default.
Next we added a function called handleButtonClick to our component. handleButtonClick toggles the dropdown menu and changes the isComponentVisible state to false or true. If isComponentVisible is true, then dropdown menu will be visible.

If you notice, you will see that clicking outside of the button does not cause any change. Now we want to be able to ensure that when we click outside of the button, the menu dropdown should close. We are going to achieve this by using useRef() and useEffect()
import React, { useRef, useState } from "react";
...

export default function Card() {
  const [isComponentVisible, setIsComponentVisible] = useState(false);
  const ref = useRef(null);

...
return (
  <div>
    <div className="container" ref={ref}>
Next we add event listeners to our useEffect(). An event listener allow us to add interactive functionalities to our Html code by listening to changes in the state of the underlying environment. You can check out MDN's Event Reference guide to learn more about event and event handlers.
const handleClickOutside = (event) => {
    if (ref.current && !ref.current.contains(event.target)) {
      setIsComponentVisible(false);
    }
  };

  useEffect(() => {
    document.addEventListener("click", handleClickOutside, true);
    return () => {
      document.removeEventListener("click", handleClickOutside, true);
    };
  }, []);
Now when we click outside of the button, the dropdown menu should close.

Our dropdown menu now works perfectly well. And so it should open and close when needed.